Reception
Receive SIP
To receive an IP, first select one IP by clicking on it in the list. To select multiple IPs, either hold the CTRL key and click each IP or click the first IP, hold the SHIFT key and click another to select all IPs between including the two selected.
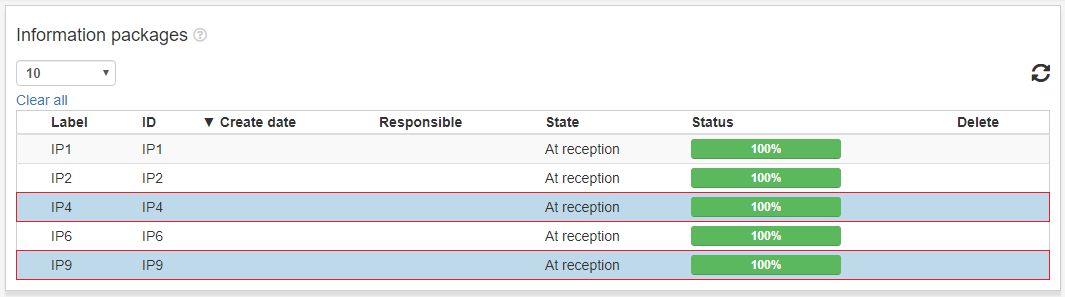
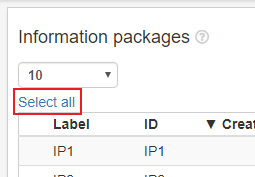
To select all visible IPs use the Select all option.
When the desired IPs are selected, click the Receive-button in the bottom right corner.
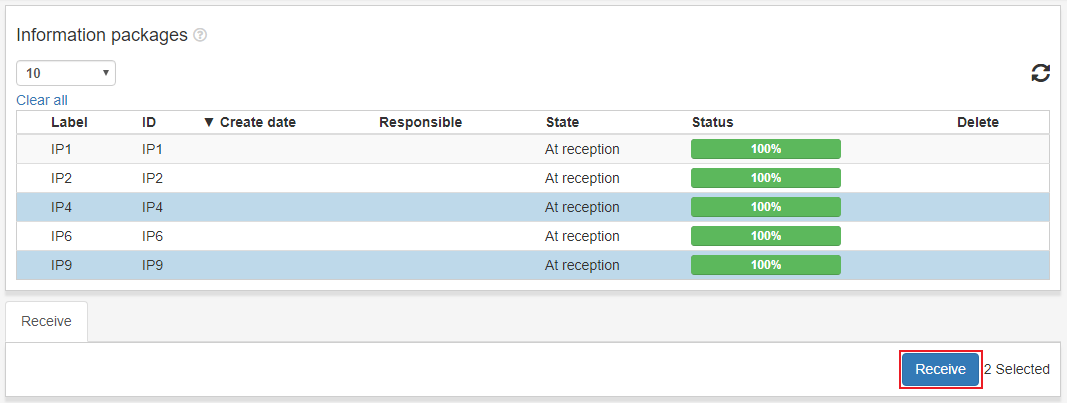
Clicking the Receive-button will open a window to receive the first included IP.
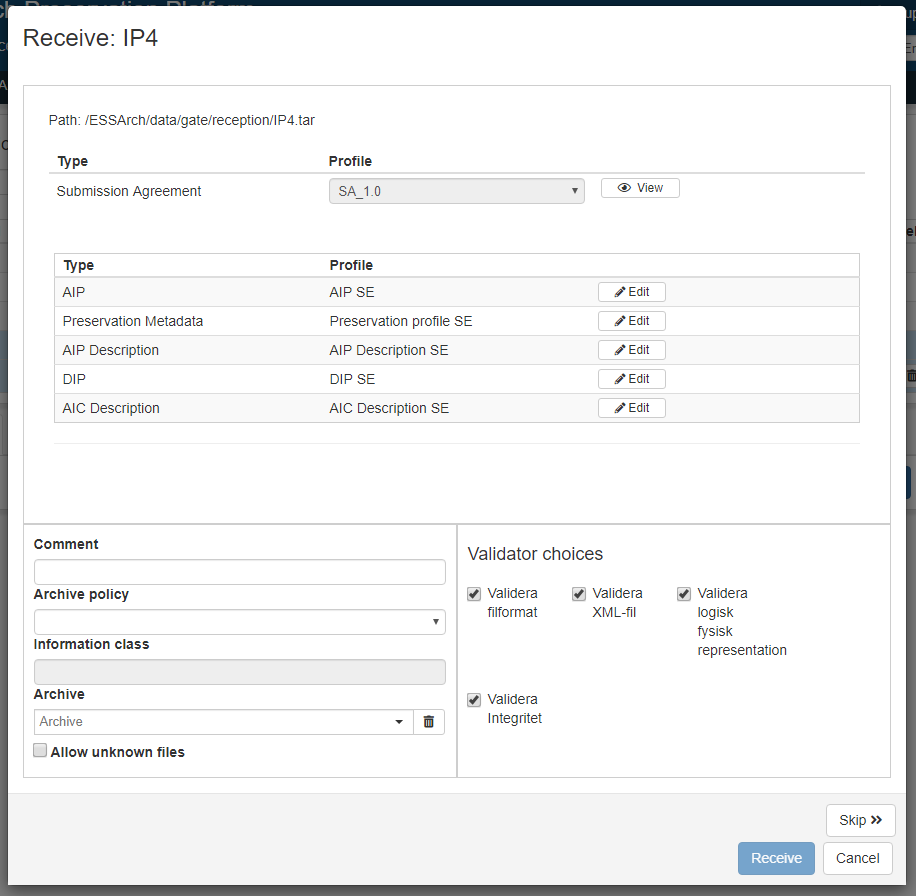
Profile Editor
Use the dropdown to select which submission agreement to use, then click Prepare. If the dropdown is disabled, the IP already has a related submission agreement.
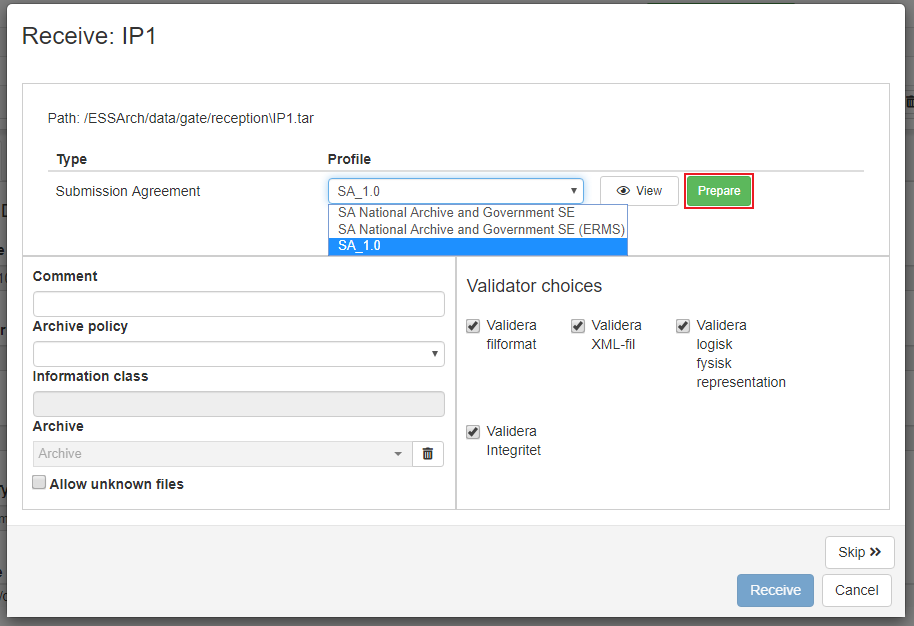
The profile editor is where the user can edit data of a profile for a specific IP. The submission agreement’s data fields can be viewed by clicking the view button next to the dropdown.

Underneath the submission agreement row, all related profiles are listed. Click edit next to a profile to edit the data of the profile for the IP to be received. When satisfied with the edit, click Save.
When saving profile data, the previous versions are still available in the version dropdown. Choose between data versions and click save to apply.
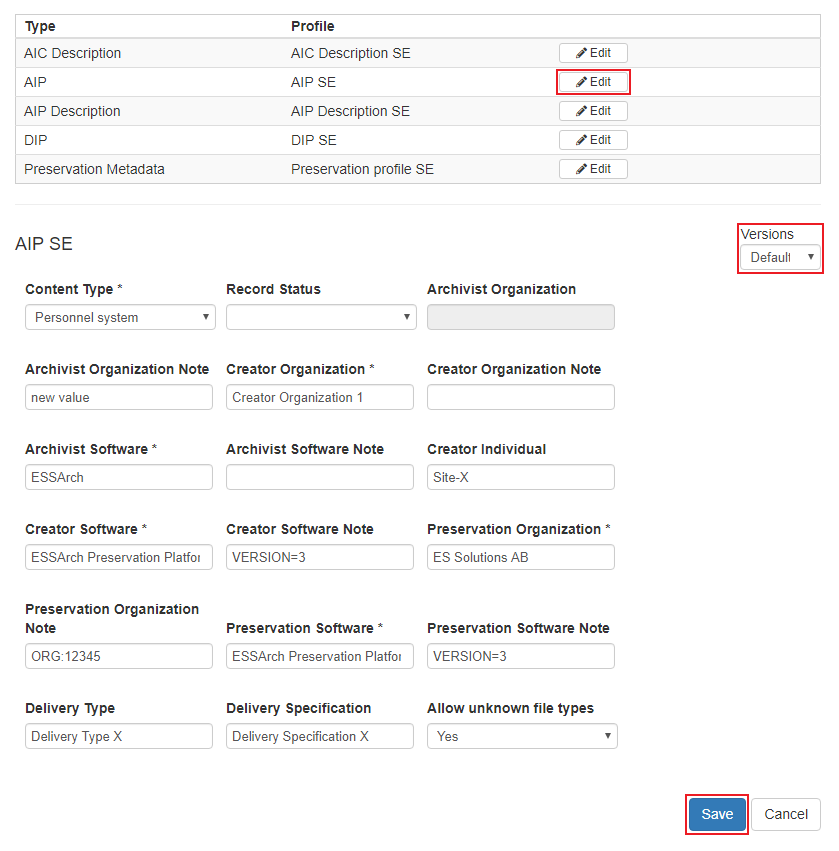
This can be done on each profile type, remember to save the data before closing the profile form.
Receive
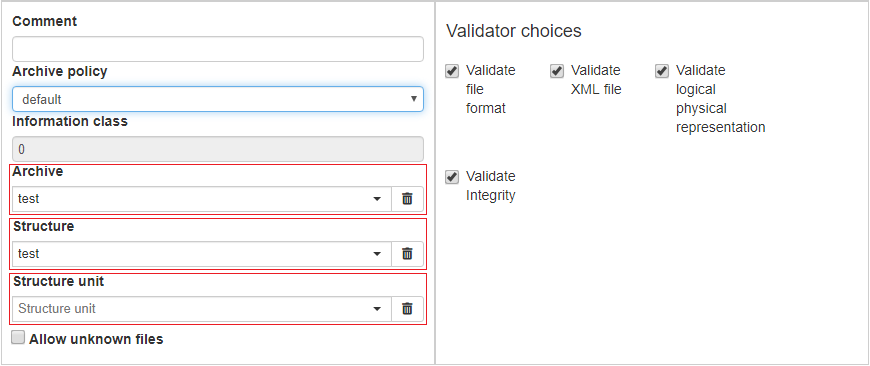
To receive an IP it needs to be placed in an archive and a structure so that the IP and its content is indexed and can be found on the search page. First select archive, then structure and last structure unit, which is where we will find the IP in the search result tree structure.
When satisfied with the submission agreement and the profiles, select an Archive policy and click Receive. The process of receiving the IP is started and if more IPs are included a window for the next IP will appear. An IP can be skipped by clicking the Skip-button.
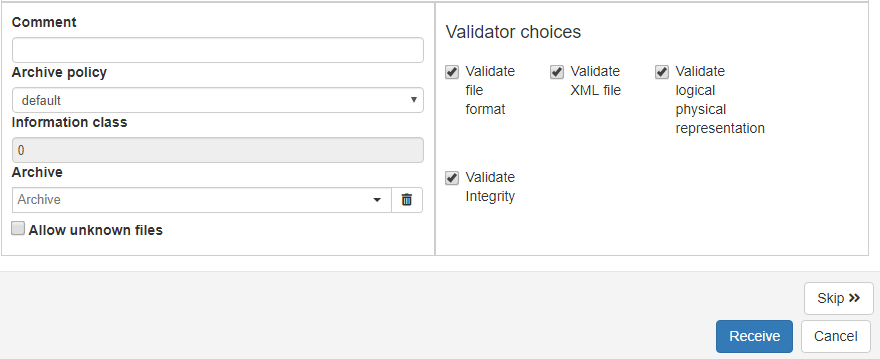
When an IP is received it is no longer visible in the reception list and can be found in the Approval section